REVIEW · 4-DAY EXPERIENCES
Great Ocean Road & Beyond 4 day Adventure Melbourne to Adelaide
Book on Viator →Operated by See Adelaide · Bookable on Viator
Four days, one seriously scenic coastline. This Melbourne-to-Adelaide adventure is built for views over driving, with an air-conditioned minivan and a guide’s commentary taking the stress out of the busy coast. You also get Great Ocean Road highlights and beyond—koalas, shipwreck country, crater lakes, caves, and wine country—without juggling rental cars or parking.
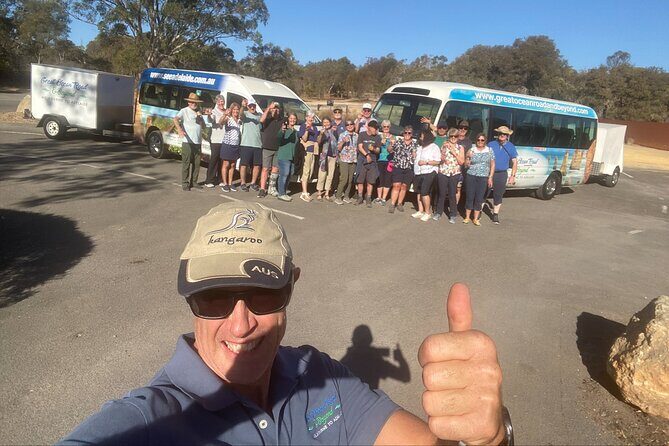
I really like two things about it. First, the minivan transport with reclining seats and big space for luggage means you can stay comfy as you cover the distance. Second, the guiding really matters on this route, and you’ll meet hosts like Jens (and in some departures, Jason) who keep the days fun and moving while still pointing out what to look for.
One drawback to weigh: this is a set itinerary, so you’re trading free-form wandering for a well-timed route. You’ll be on the clock for major stops, and evening meals are on your own since only breakfasts and lunches are included.
In This Review
- Key things to know before you go
- Why this Melbourne to Adelaide minivan route beats renting a car
- Day 1: Great Ocean Road start, koala spotting, and Otways rainforest walking
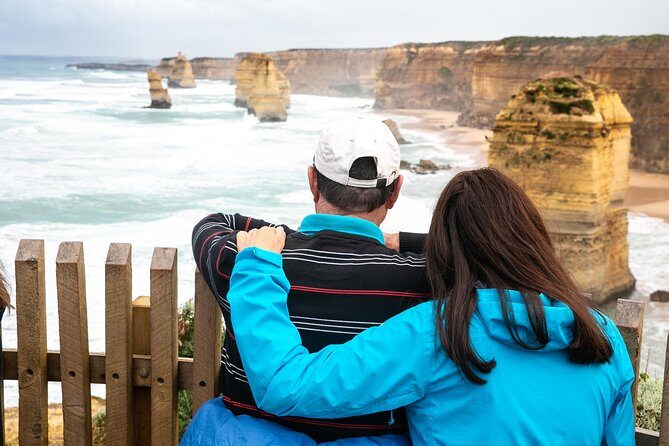
- Day 2: Shipwreck Coast icons—Loch Ard Gorge, London Bridge, and Twelve Apostles
- Tower Hill Wildlife Reserve and Port Fairy: animals plus a real sense of place
- Day 3: Mount Gambier’s Blue Lake/Warwar, sinkholes, and Penola lanes
- Day 4: Naracoorte fossils, Bremerton wine tasting, silos art, and Hahndorf to Adelaide
- What the $1,574.35 price really buys you (and what it doesn’t)
- Comfort and pacing: how the schedule feels in real life
- Who should book this Great Ocean Road & Beyond adventure
- Should you book it or plan your own route?
- FAQ
- How long is the Great Ocean Road and Beyond adventure?
- What’s included with the tour price?
- What route does the tour cover?
- Is wine tasting included, and are alcoholic drinks otherwise included?
- Where do you start and end?
- What’s the cancellation window for a full refund?
Key things to know before you go
- Driver-free touring: you relax in a climate-controlled minivan while the route handling is taken care of
- Morning light at the Twelve Apostles: the plan is built to visit iconic stacks early
- Wildlife and culture in one day: Tower Hill combines animals with Aboriginal interpretation and bush tucker
- Mount Gambier’s volcanic stops: Blue Lake/Warwar and a sinkhole garden add variety beyond coast scenes
- Big variety in 4 days: caves, silos art, a German village stop, and a final Adelaide lookout
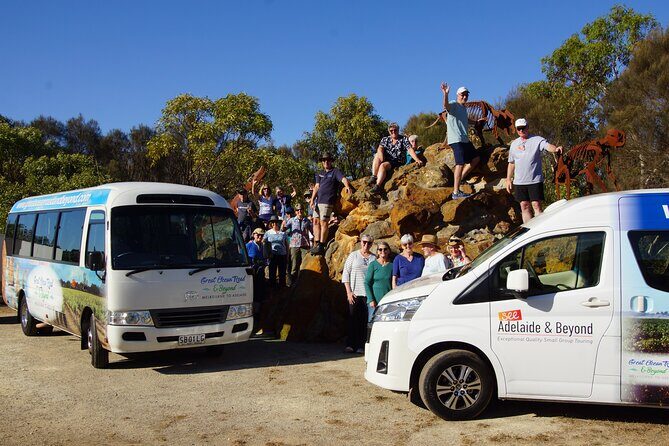
- Small group feel: maximum 16 travelers, with guaranteed departure if the minimum group size is met
Why this Melbourne to Adelaide minivan route beats renting a car
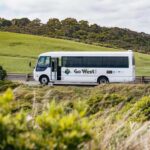
If your goal is to see the coast, you’ll feel how much easier this trip is when someone else’s hands are on the wheel. The Great Ocean Road stretch is famous for a reason, but it also demands full attention when you’re on busy bends, short pull-offs, and lookout traffic. Here, you can actually enjoy the ride instead of doing mental math on where to park and when to turn back.
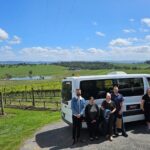
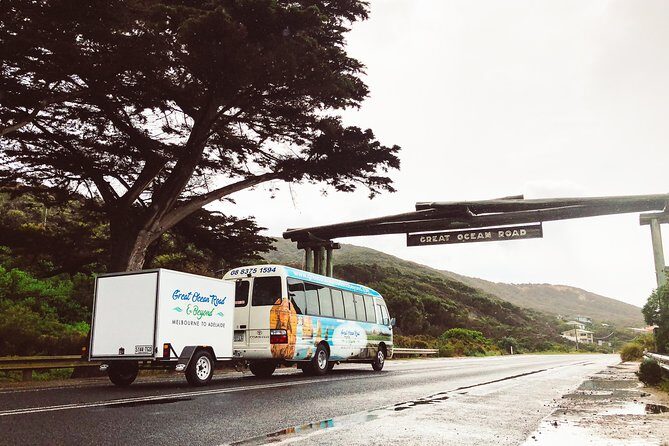
The minivan setup also helps with comfort over multiple days. The vehicle is described as air-conditioned with reclining seats, and luggage is handled without fuss. That sounds small until you’re hauling bags around train stations and hotel blocks—then you’ll be glad you’re not thinking about it at every stop.
Finally, the guide commentary is part of the value. The route covers more than just famous lookouts; you get context for what you’re seeing as you pass key areas. On a day with quick stops, that background helps each location land instead of feeling like a checklist.
You can also read our reviews of more tours and experiences in Melbourne.

Day 1: Great Ocean Road start, koala spotting, and Otways rainforest walking
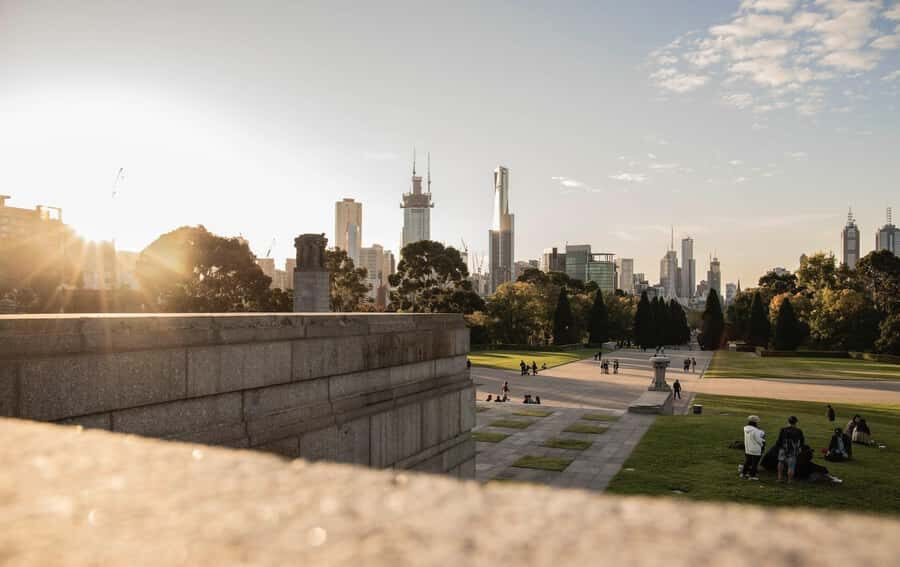
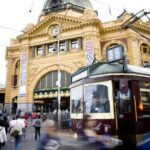
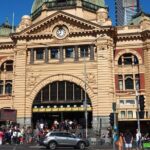
You start at 8:30 am in Melbourne and head west toward the Great Ocean Road’s famous start point. The early segment is all about getting your bearings and setting expectations for the coast. A big first moment is the Memorial Archway, a quick photo stop that also marks the start of the road proper.
From there, the tour is designed to hit classic Great Ocean Road areas without rushing you. A highlight early on is the chance for a koala sighting, with the advice to have your camera ready. That’s the kind of stop that’s short but memorable because it’s unexpected.
Then you get into the Great Otway National Park portion, which changes the feel from ocean edge to inland greenery. This is a good place for a walk, including a temperate rainforest-style experience. The description also points to waterfalls in the park, including the Triplet Falls area, so you’re not only looking at views—you’re also moving through scenery.
What to watch for on Day 1
- Expect a lot of lookouts and a bit of walking. Bring shoes you can trust on uneven paths.
- The day is paced to give you time in each distinct area of the Great Ocean Road—Surf Coast, Otway Ranges, and Shipwreck Coast.
- Stops can be quick, so it helps to be ready when the group is ready.
Possible downside
Day 1 can feel like it’s stacking moments back-to-back. If you’re the type who likes slow, long wandering breaks, you might wish you had more unstructured time between major pull-offs.
Day 2: Shipwreck Coast icons—Loch Ard Gorge, London Bridge, and Twelve Apostles
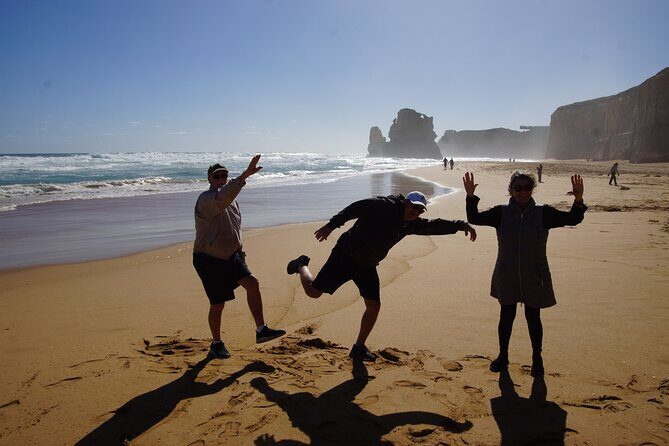
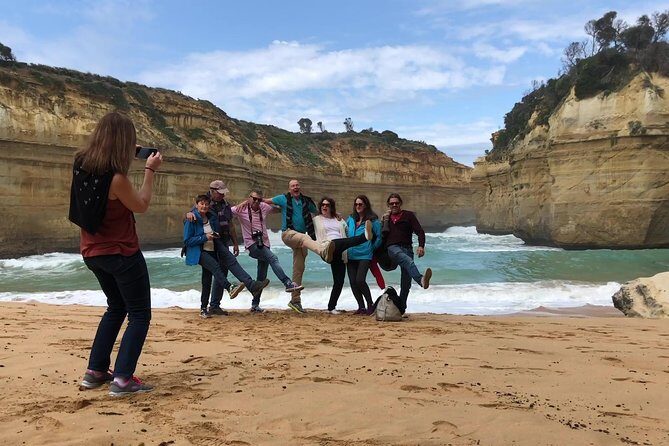
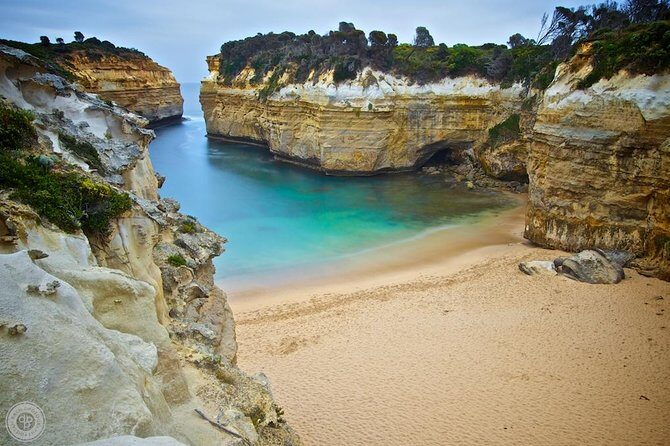
Day 2 is about the coast’s most famous natural structures, and it’s built around timing. First up is Loch Ard Gorge, named after the clipper ship Loch Ard that ran aground nearby. The stop is designed as a beach walk and toe-dip style break, with plenty of opportunity for photos.
Next you hit London Bridge, an offshore natural arch formation in Port Campbell National Park. This is a classic Great Ocean Road visual: simple shape from the right angle, strong “I can’t believe this is real” factor, and plenty of camera time even in a short visit.
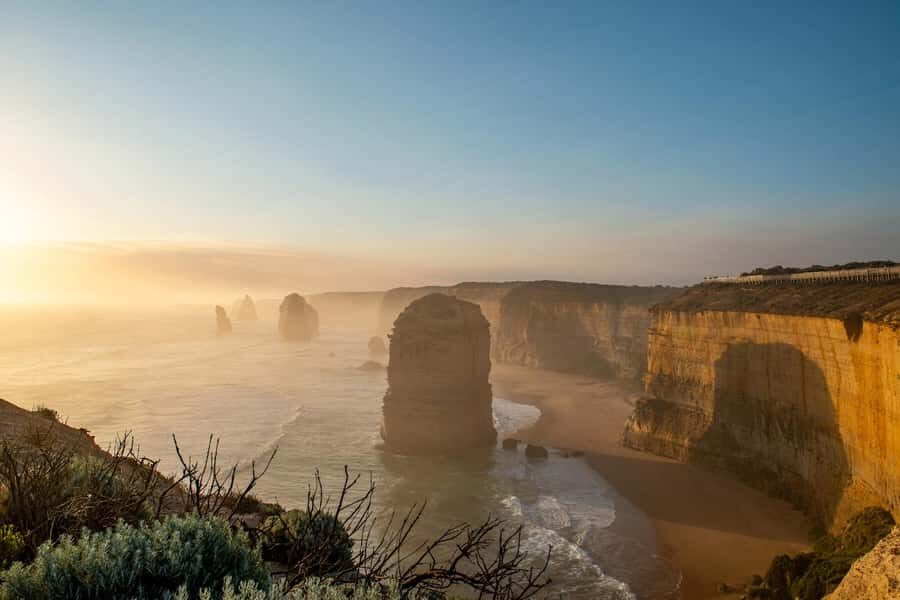
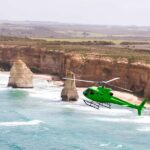
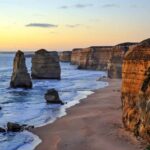
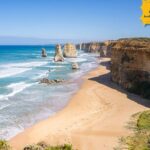
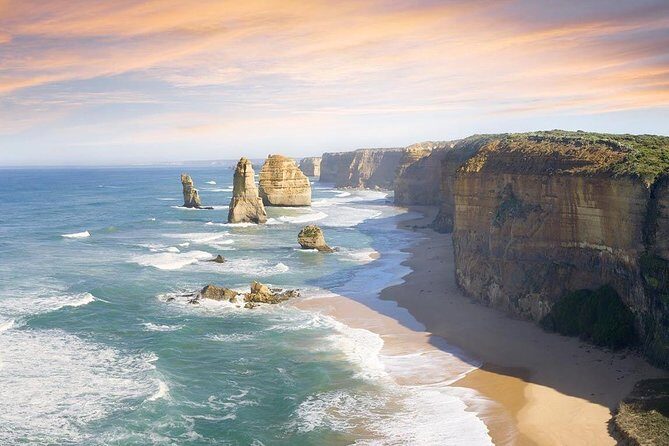
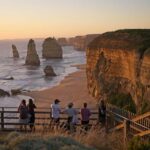
Then comes the star: the Twelve Apostles. The plan explicitly focuses on visiting early to beat crowds and catch morning sunlight, which matters because this is one of those places where light changes the mood fast. Morning is usually when the stacks look crisp and dramatic, and you don’t want to arrive after the best light has already happened.
My practical take
This is exactly the kind of route where a self-drive plan can get messy. If you arrive late, parking is crowded and the best viewing angles fill quickly. Doing this as part of a guided schedule helps you arrive when it’s likely to be calmer.
Tower Hill Wildlife Reserve and Port Fairy: animals plus a real sense of place
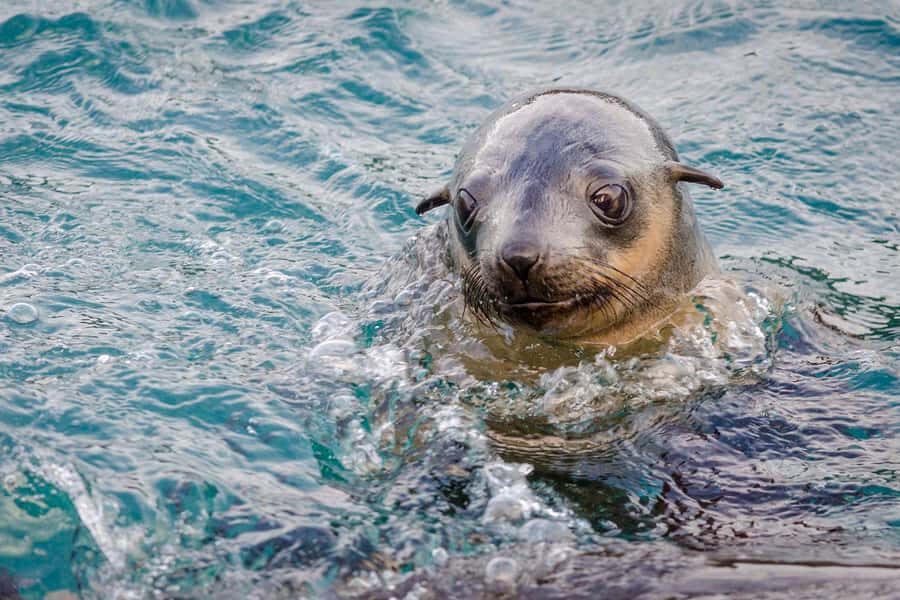
Not every day on this route is only about rocks and the sea. One of the best stretches is Tower Hill Wildlife Reserve, where the stop goes beyond “look at wildlife.” It includes Aboriginal interpretation, bush tucker elements, Australian wildlife viewing, and even boomerang throwing. That mix is valuable because it gives you more than photos—it gives you an explanation for what you’re seeing and why it matters.
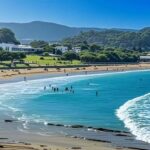
After that, you head toward the Port Fairy & Region Visitor Information Centre area. Port Fairy is a coastal town vibe, and the tour includes time that’s practical for resetting: you can stretch, wander at your pace, and use the visitor centre as a way to orient yourself. It’s a smart pacing move after two heavy days of iconic coastal formations.
What you’ll want to do in Port Fairy
- Plan a simple walk and pick one good meal option, since dinner is not included.
- If you love browsing local shops or coastal streets, this is the kind of stop that lets that personality show.
Day 3: Mount Gambier’s Blue Lake/Warwar, sinkholes, and Penola lanes
By Day 3, you’re leaving the pure coast behind and heading into Limestone Coast country. The shift is one reason the trip feels like more than just a single scenic road.
You start with Blue Lake/Warwar near Mount Gambier. The tour description identifies it as a crater lake linked to a dormant volcanic maar complex. Even if you’ve seen photos, this is the kind of stop where the real thing hits different—because you’re seeing a volcanic landscape shaped into a specific type of water feature.
Next is Umpherston Sinkhole/Balumbul, described as a sunken garden created in 1886. This is a calmer, slower-feeling stop with platforms, benches, sculptures, and walking paths. It’s a nice contrast to the rugged coast: less wind, more enclosed garden atmosphere, and a different kind of photo opportunity.
Then you move into Petticoat Lane in Penola, described as a hidden treasure area with original cottages and gardens that let you experience a 19th-century feel. If you want something human and textured—buildings, garden corners, small-scale town history—this stop does that.
You end Day 3 at the Mary Mackillop Heritage Centre, focused on the spirit and charism of Saint Mary MacKillop, described as Australia’s first saint. This is one of the less obvious stops on the route, but it adds variety and a deeper cultural layer beyond natural sights.
Day 3 tip that matters
Wear layers. This route includes coast, rainforest walking, sinkhole gardens, and town stops. Weather can change your comfort level fast, and you’ll enjoy the day more if you’re not stuck overheating or freezing.


Day 4: Naracoorte fossils, Bremerton wine tasting, silos art, and Hahndorf to Adelaide
Day 4 is a strong closer because it keeps expanding your sense of what’s between Melbourne and Adelaide.
You start at Naracoorte Caves National Park. The tour notes it was recognized in 1994 for its extensive fossil record. A cave stop like this is a good final-day change of pace because it’s indoors, it’s guided (at least by the tour’s included time), and it gives you something to think about besides scenery.
Next is Bremerton Wines, with included wine tasting. The description connects it to Langhorne Creek and notes it’s part of the willson family owned company Bremerton Vintners Pty Ltd. Wine tasting is included, but alcoholic drinks are not listed as included beyond that. Also, the tour states a minimum drinking age of 18, so it’s built for adult travel behavior.
Then comes Coonalpyn Silos, described as some of the biggest works of art you’ll see. It’s a short stop, but it’s the kind of modern roadside art that feels fun after days of older natural landmarks.
After that, you visit Hahndorf via the German Village Shop Hahndorf. Hahndorf is known for German-style architecture and artisanal food, reflecting 19th-century Lutheran migrants. This stop adds a clear cultural contrast to the previous days and gives you a chance to snack or browse rather than just take photos.
Finally, you wrap up with Mount Lofty Summit in the Adelaide area. You get a lookout time (included) and the tour frames it as your first glimpse of Adelaide from Adelaide’s highest peak. That’s a satisfying final moment because you transition from road-trip scenes into city scale—an easy mental bookmark for the end of the journey.
What the $1,574.35 price really buys you (and what it doesn’t)

At $1,574.35 per person for a roughly 4-day trip, this isn’t a budget escape. But it’s also not just “a bus tour.” You’re paying for several built-in costs and friction reducers:
- 3 nights of 4-star accommodation
- 3 breakfasts and 4 lunches included
- wine tasting
- air-conditioned minivan with reclining seats and handling for large luggage
- pickup and drop-off from designated points
- a driver/guide to keep the schedule working and interpret the route
What’s not included is also important. Evening meals are not included, and alcoholic beverages are not included (beyond the included wine tasting). So if you’re the type who wants a fancy dinner every night, you should budget for that yourself.
I also like that the maximum group size is 16 travelers. That matters on scenic routes because you want enough people for a friendly vibe, but not so many that you’re always waiting to move between stops. The tour also lists guaranteed departure with 2 passengers, which helps if you’re traveling in a small group and worried about the trip being canceled.
Comfort and pacing: how the schedule feels in real life
This route is designed for major icons, and that means the day has a rhythm: transit, stop, photos, short walks, then back on the minivan. The upside is you see a lot without making tough logistics decisions. The downside is you don’t get unlimited time at each place.
The tour’s highlights are timed, too. The Twelve Apostles stop is explicitly planned to be early for morning light and to help you beat crowds. That kind of scheduling is exactly what you want on a famous stop—waiting until late in the day can turn the experience into squeeze-and-wait.
On accommodations, the tour includes 3 nights in 4-star stays, and the vibe from similar experiences is that rooms are comfortable even if the hotels might feel a bit quirky depending on the property. Hot showers and comfortable beds are the bare minimum you want on a road trip, and this tour is clearly set up around that.
Who should book this Great Ocean Road & Beyond adventure
This tour is a great fit if:
- you want the Great Ocean Road without the stress of driving, parking, and constant navigation
- you like a mix of famous sights and “other” stops (sinkholes, caves, small towns, silos art)
- you want meals partly handled—breakfast and lunch included each day segment
- you prefer a small-group feel up to 16 people
This tour is less ideal if:
- you want lots of free time to wander independently without a set schedule
- you’re trying to do this on a tight budget
- you want full control over when you stop for photos or detours
Should you book it or plan your own route?
I’d book this if you want maximum payoff with minimum headache. The combination of guided stops across different regions—coast icons, volcanic features around Mount Gambier, caves at Naracoorte, and an end-day shift into wine country and Adelaide—adds up to a trip that feels thoughtfully packed rather than random.
If you’re already confident driving the Great Ocean Road and you love building your own pace, you could do it independently. But if you’d rather spend your energy looking out the window and listening to the story behind each place, this is the kind of setup that makes sense.
My call: book this when you want a scenic route handled for you, and you’re happy trading a little freedom for strong timing and comfort.
FAQ
How long is the Great Ocean Road and Beyond adventure?
It’s described as approximately 4 days, with a start time of 8:30 am in Melbourne.
What’s included with the tour price?
The tour includes 3 nights of 4-star accommodation, breakfast (3) and lunch (4), wine tasting, and transport by air-conditioned minivan. A driver/guide is also included.
What route does the tour cover?
You travel from Melbourne to Adelaide, with stops along the Great Ocean Road and then beyond toward places like Naracoorte Caves, Mount Gambier, and Adelaide-area viewpoints like Mount Lofty Summit.
Is wine tasting included, and are alcoholic drinks otherwise included?
Wine tasting is included. Alcoholic beverages are not listed as included beyond that.
Where do you start and end?
You start in Melbourne and end in Adelaide, with drop-off at hotel and accommodations in Adelaide and Glenelg.
What’s the cancellation window for a full refund?
You can cancel up to 6 days in advance of the experience for a full refund. Cancellation timing is based on the local time of the experience.