REVIEW · CITY TOURS
Melbourne: City and Bayside Helicopter Tour
Book on GetYourGuide →Operated by Professional Helicopter Services Pty Ltd · Bookable on GetYourGuide
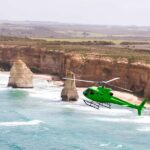
A helicopter ride is the quickest way to get your bearings in Melbourne. In just 20 minutes you’ll lift off from Moorabbin Airport and see the city’s highlights laid out from above, from the bayside to stadium landmarks. Two things I really like here are the pilot commentary (you’re not just looking at rooftops) and the tight small-group setup that keeps the ride personal.
The one thing to keep in mind: it’s short. At this duration you won’t get a full, slow loop around every neighborhood, so if you’re hoping for close-up photo angles of everything, you might feel the views are a bit “from a distance,” especially from the middle seat.
In This Review
- Key highlights worth caring about
- First in the air: Moorabbin Airport and what the 20 minutes really feels like
- The flight path that ties Melbourne together: beaches, bayside wreck, then stadiums
- Bayside history on clear display: spotting the J7 submarine wreck
- Beach icons and the color of Melbourne: St. Kilda, Brighton Beach, and Luna Park
- Albert Park Lake and race-day geography you can actually see
- Big stadium energy: Melbourne Cricket Ground and Rod Laver Arena from above
- City landmarks you’ll recognize fast: markets, museums, stadiums, and Docklands
- Seats, photos, and the one thing you can do to improve your view
- Price and value: is $201 per person worth it for a 20-minute flight?
- What’s included, what isn’t, and what you should bring
- Meeting point and timing: keep it simple at the car park
- Who this tour suits best (and who should skip it)
- Should you book the Melbourne City and Bayside Helicopter Tour?
- FAQ
- How long is the Melbourne City and Bayside Helicopter Tour?
- Where does the tour depart from?
- What is the price?
- How many people are in the group?
- Is there commentary during the flight?
- What photos are included?
- Does the tour include hotel pickup or drop off?
- Are food and drinks included?
- What should I bring?
- Is there any weight limit?
Key highlights worth caring about
- Moorabbin lift-off: the takeoff itself is part of the experience, not just the photos afterward
- J7 submarine wreck at the bayside: a 1930s scuttled wreck you can actually spot from the air
- Beach and pier icons: Brighton Beach bathing boxes, St. Kilda Sea Baths, and Luna Park show up clearly from overhead
- Albert Park Lake and F1 context: it’s easy to see why this area matters on race weekends
- MCG and Rod Laver Arena from above: stadium geometry looks impressive when you’re looking down
- Included helicopter photo: you leave with at least one pro-style souvenir, not just your own camera shots
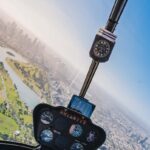
First in the air: Moorabbin Airport and what the 20 minutes really feels like
I like the way this tour starts with a real sense of occasion. You’re not shuttled into some far-off helipad with a crowd; you’re getting a pre-flight setup, then walking straight into the helicopter experience.
The timing is the big headline: it’s a 20-minute flight, and that includes your airborne time while you pass the main sights. That means you’ll feel the “go, go, go” rhythm—lift off, look up, and start photographing right away. If you’re the type who usually spends time planning shot angles on foot, relax a bit here. This is more about capturing big shapes and locations than getting postcard-level detail of every street.
Group size also matters. This is limited to 5 participants, so there’s less jostling for vantage points and less noise compared with bigger aviation tours. You can focus on the view and actually hear what the pilot is sharing.
You can also read our reviews of more city tours in Melbourne


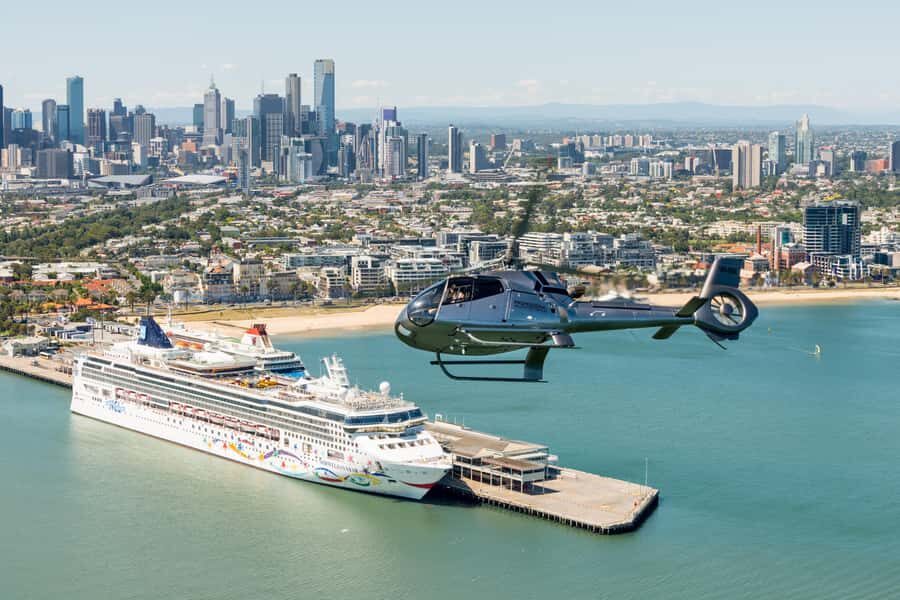
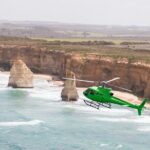
The flight path that ties Melbourne together: beaches, bayside wreck, then stadiums
What makes this tour work is that it stitches together three parts of Melbourne that usually feel separate: city core, sporting icons, and Port Phillip Bay’s coastline. You’ll do that in one continuous loop—no long gaps, no “now you wait” stretches.
Here’s the key flow, as you’ll experience it in the air:
- You start by heading out from Moorabbin and making your way over the Royal Melbourne Golf Course area before turning north toward the city.
- Then you go offshore toward Sandringham Marina, where you can see the wreck of a J7 submarine that was scuttled in 1930.
- After the bayside segment, the route runs past the seaside suburbs—this is where St. Kilda, Brighton Beach, and the bathing boxes become the star show.
- Next comes the big-city and sport combo: Albert Park Lake, then the outskirts and landmarks like the War Memorial, Government House, the Melbourne Cricket Ground (MCG), and Rod Laver Arena.
- Finally, you track back down toward Port Phillip Bay, passing landmarks again and returning to Half Moon Bay and Moorabbin.
You get a “where am I?” map view fast. And that’s the real value: Melbourne is spread out in a way that’s easier to understand from above than it is on foot.
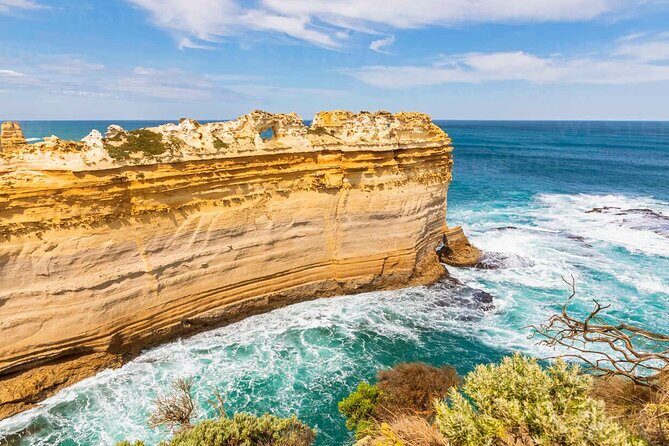
Bayside history on clear display: spotting the J7 submarine wreck
If you’re into unusual landmarks, this is the reason I’d pick this helicopter option over a generic city flyover. You’re not just seeing modern skyline and stadium rooftops—you’re seeing something with a specific historical story: a J7 submarine scuttled in 1930.
From a bird’s-eye viewpoint, the wreck becomes one of those “wait, that’s it?” moments. You’re flying over Sandringham Marina and then seeing it from the water area near the bayside. Even if you don’t know anything about submarines, the fact that it’s a known wreck location gives your photos and your memory anchor points.
Practical tip: if you care about photos of the wreck, have your camera ready early as you reach the offshore segment. You won’t have time to fumble with settings mid-flight.
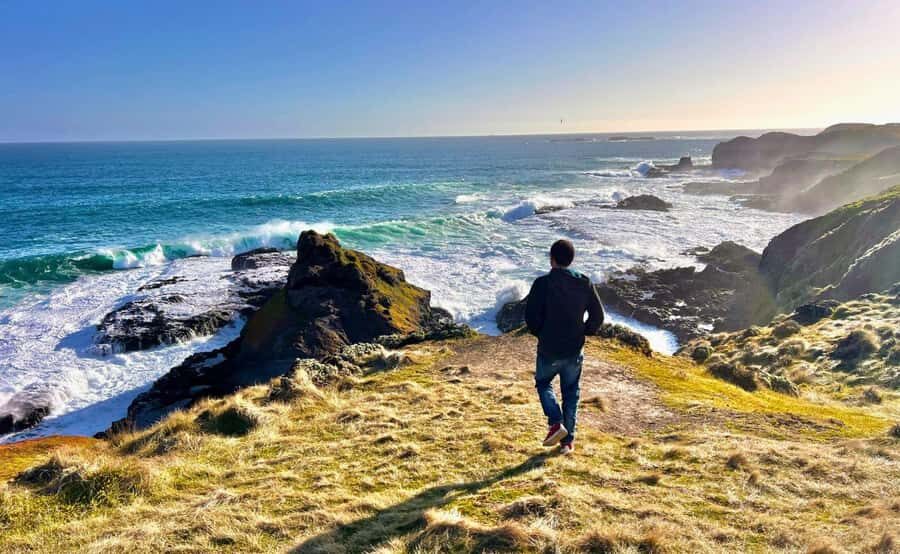
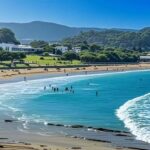
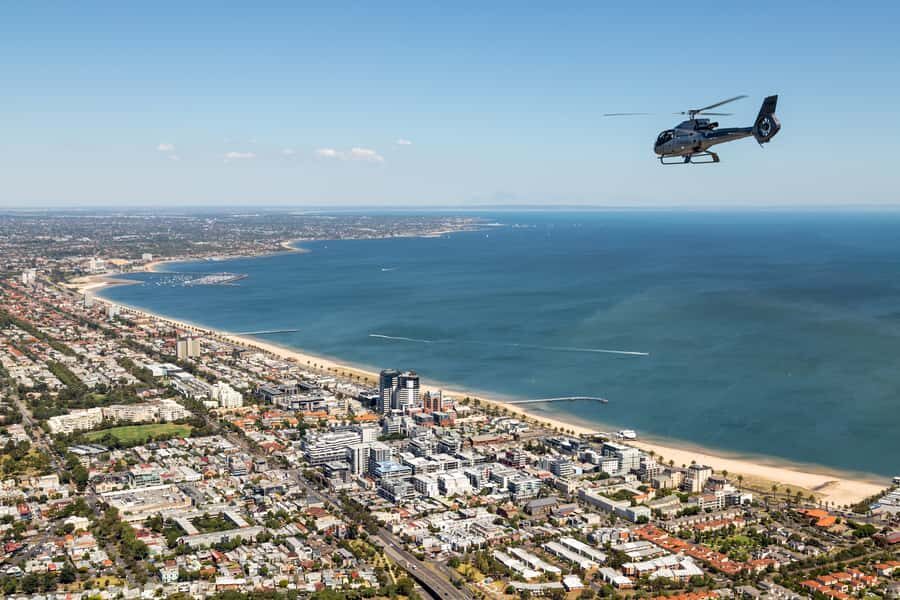
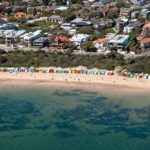
Beach icons and the color of Melbourne: St. Kilda, Brighton Beach, and Luna Park
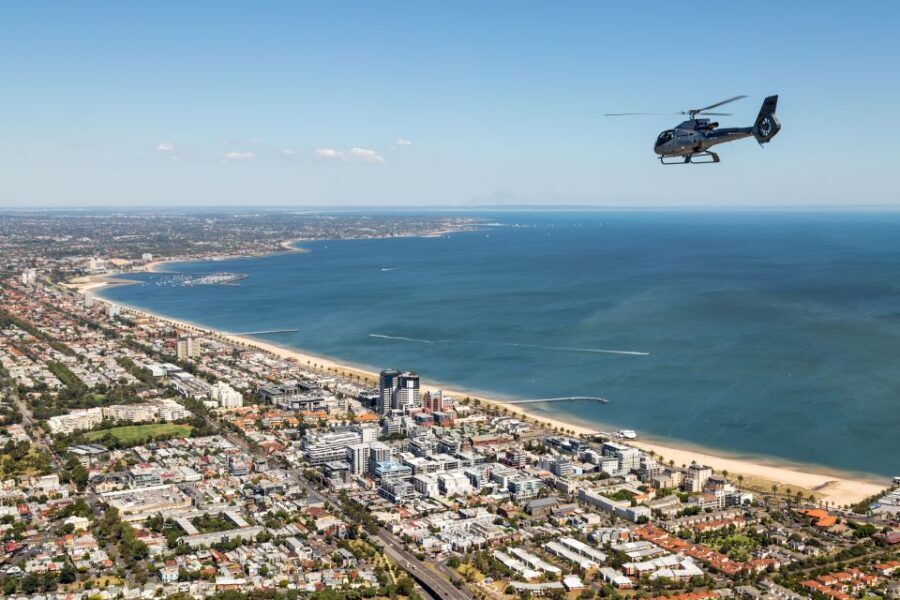
The coastline part of the flight is built for visual impact. You’ll pass over St. Kilda, then see the fun, unmistakable details around the bay area—especially the coastal attractions that are recognizable even when you’re high above.
You can look out for:
- Brighton Beach bathing boxes (one of Melbourne’s most photo-friendly bay scenes)
- St. Kilda Sea Baths
- Luna Park
From above, these aren’t just “things to look at.” They become visual clues. The bathing boxes make the shoreline easy to read. The Sea Baths and Luna Park give you structure to the coastline—like you can outline the area without needing a map.
This is also a nice mental break from the city. If you’ve been moving around Melbourne streets, this bayside segment feels lighter, more relaxed, and very “Australia” in the best way.
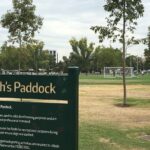
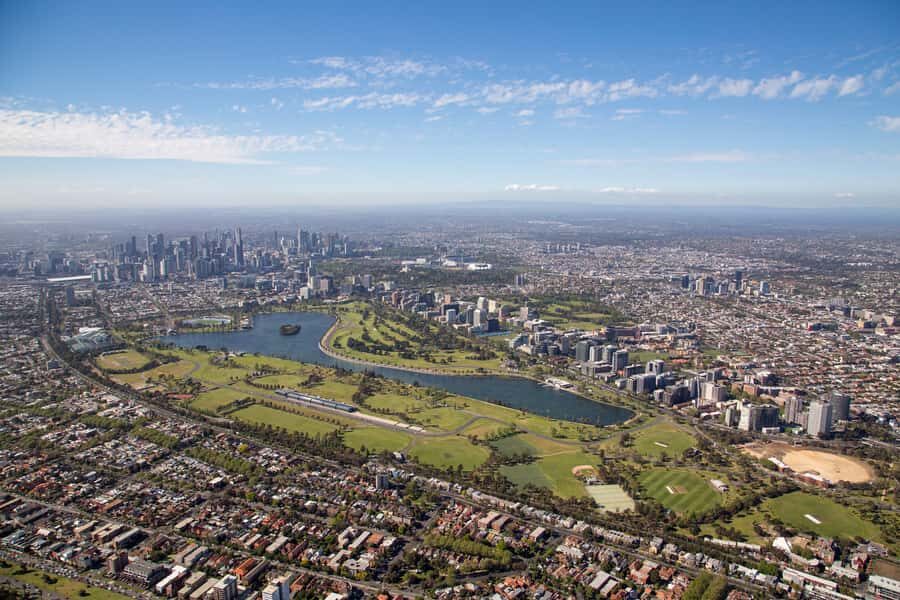
Albert Park Lake and race-day geography you can actually see
When you fly over Albert Park Lake, you’re not just seeing a body of water. You’re seeing how the park and its surroundings relate to the city grid and the nearby event infrastructure.
The tour description ties it to the Australian Formula 1 Grand Prix, and from the air you’ll understand the big idea: this is a major event area, right next to the city, with a layout that works for speed and spectator access.
If you’re a racing fan, this stop feels like a quick “oh, that’s why it looks like that” moment. If you’re not, it still gives you a clean landmark that helps you orient yourself for the rest of the flyover.
You can also read our reviews of more tours and experiences in Melbourne


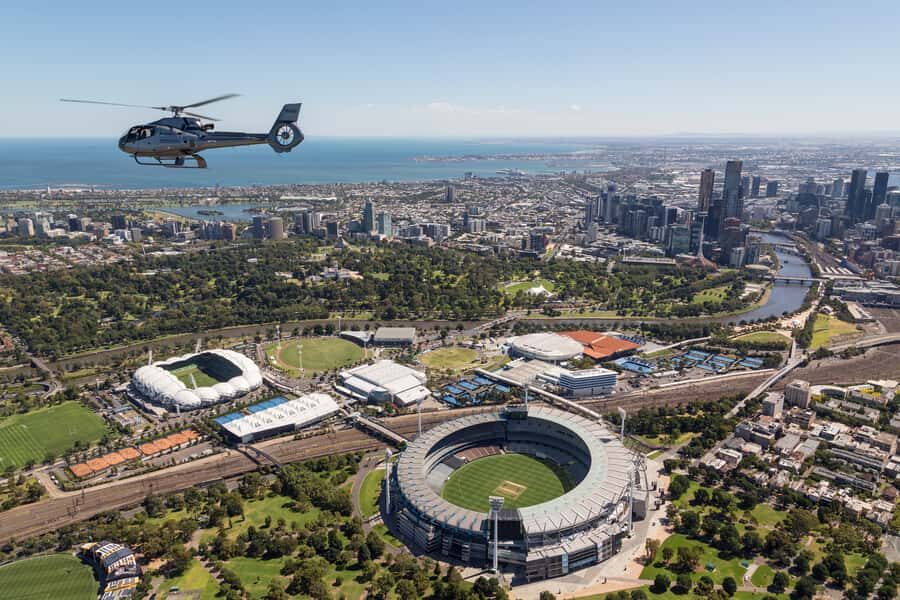
Big stadium energy: Melbourne Cricket Ground and Rod Laver Arena from above
Some cities look impressive from the ground, but stadiums are where aerial views really pay off. The Melbourne Cricket Ground (MCG) and Rod Laver Arena are huge identifiers, and from above their shapes and surrounding streets stand out quickly.
As the route goes toward the outskirts and landmarks—near places like the War Memorial and Government House—you get a sense of how these stadium sites sit within the wider city.
What I like: you’re not stuck behind crowds or fencing. You can see the full structure and how it sits in the city’s layout. This makes your photos feel more “place” oriented, not just “I took a picture near a landmark.”
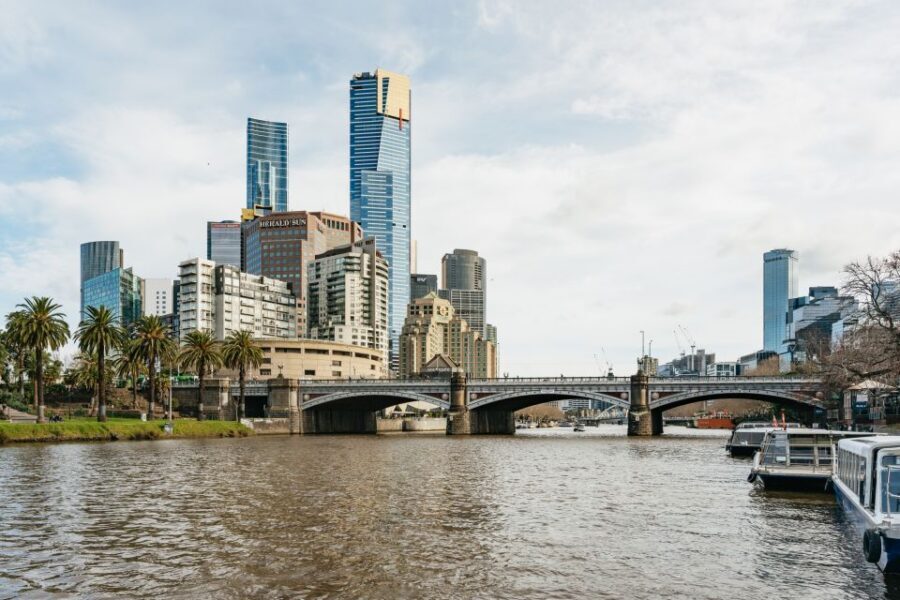
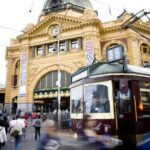
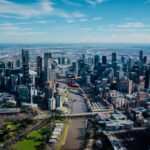
City landmarks you’ll recognize fast: markets, museums, stadiums, and Docklands
After you’ve covered the bayside and the sport landmarks, the flight shifts into classic “Melbourne highlights” mode. You’ll pass near areas including the Melbourne Exhibition buildings, Melbourne Museum, Victoria Market, Marvel Stadium, and Melbourne Docklands.
From the air, Melbourne’s building clusters look different from street-level. Instead of narrow blocks and storefronts, you see how these institutions form a grid of cultural and commercial hubs.
This part is especially useful if:
- you want to understand the city layout without spending a whole day commuting and walking between neighborhoods
- you’re in Melbourne for a short stay and want a one-ride orientation tool
One quick caution: because the overall flight is only 20 minutes, the city-view segment is brief. If you’re hoping for time to linger and reframe shots, it won’t work like a slow sightseeing helicopter charter. You’ll have to aim, click, and move on.
Seats, photos, and the one thing you can do to improve your view
Here’s the practical reality of small helicopters: your seat matters. One review noted that someone couldn’t enjoy the view as much because they were given the middle seat.
I can’t change seat assignments from here, but I can tell you how to maximize your chances:
- Arrive early for your meeting point so you can settle in calmly
- If you can choose or request a seat, aim for a window position over the middle when possible
- Keep your camera ready so you’re not adjusting while the best views pass
Good news: the tour includes a photo taken with the helicopter. That’s a built-in safety net. Even if a particular moment doesn’t land perfectly for your personal photos, you’ll still leave with an included souvenir image.
Price and value: is $201 per person worth it for a 20-minute flight?

At $201 per person for a 20-minute flight, this isn’t a “daily activity” price. You’re paying for two things that don’t scale down cheaply: helicopter access and a tightly scheduled visual route.
So where’s the value?
- You get an aerial overview of multiple major areas—beaches, bayside history, stadiums, and city highlights—without the logistics of public transport and road traffic.
- The included commentary helps you understand what you’re seeing, so it doesn’t feel like random sightseeing.
- The small group (up to 5 participants) keeps it from feeling like a production line.
When it might not be worth it:
- If you’re sensitive to short experiences, this tour can feel fast. One review suggested the ride time felt like 15 minutes and that the route didn’t go around the city closely, just viewed from farther out.
- If you mostly want close-up city detail, this may not satisfy the “I want every landmark in sharp detail” craving.
My take: it’s a good value if you use it for orientation and big-picture photos. It’s a weaker value if you expect a long, slow, super-close “aerial walking tour.”
What’s included, what isn’t, and what you should bring
You get:
- a pre-flight safety briefing
- informative commentary (plus English audio guide)
- a photo taken with the helicopter
- the 20-minute flight
You don’t get:
- hotel pickup or drop off
- food and drinks
That last part sounds boring, but it matters. If you’re planning this as part of a longer day, eat and plan your timing around the fact you’ll be at Moorabbin Airport and then back again quickly.
Bring:
- comfortable shoes
- a camera
- weather-appropriate clothing
Also, you’re flying low-ish and moving through coastal air. That means clothing comfort matters for the short time you’re waiting and getting in/out.
Meeting point and timing: keep it simple at the car park
Your meeting point is straightforward: park in the car park at the front of the building.
Because the flight is short and the experience is small-group, don’t show up like you’re going to a museum ticket line. Plan to be there early enough to handle the safety briefing without stress.
And remember: flight routes are constant, but flight times are approximate, and timing can shift due to weather and helicopter type and number of passengers.
Who this tour suits best (and who should skip it)
I’d steer you toward this tour if:
- you want a fast way to understand Melbourne’s layout from the air
- you like mixing big-city sights with bayside scenery
- you’re a racing or sports fan and want the MCG / Rod Laver Arena views
- you enjoy quirky history and want to spot the J7 submarine wreck
I’d think twice if:
- you expect a long flight or lots of re-shots and time over each landmark
- you’re very seat-sensitive about view angles
- you need hotel pickup (this one doesn’t include it)
One more eligibility detail: it’s not suitable for people over 275 lbs (125 kg).
Should you book the Melbourne City and Bayside Helicopter Tour?
Book it if you want a short, high-impact way to see Melbourne’s major personalities in one ride: beaches, the bayside wreck of a scuttled submarine, and the stadium-and-city skyline combo.
Skip it if you’re mainly chasing close-up city detail or you hate short experiences. In a small helicopter, you’ll get great views, but you’ll also get the tradeoff: limited time and some sights viewed from farther out.
If you do book, do it with a camera ready, choose your seat well if you can, and treat it as an aerial orientation + photo sprint. That’s where this tour shines.
FAQ
How long is the Melbourne City and Bayside Helicopter Tour?
The flight duration is 20 minutes.
Where does the tour depart from?
Flights lift off from Moorabbin Airport, and the tour returns there at the end.
What is the price?
The tour price is $201 per person.
How many people are in the group?
This is a small group limited to 5 participants.
Is there commentary during the flight?
Yes. You’ll have informative commentary from the pilot, and an English audio guide is included.
What photos are included?
The included experience includes a photo taken with the helicopter.
Does the tour include hotel pickup or drop off?
No. Hotel pickup and drop off are not included.
Are food and drinks included?
No. Food and drinks are not included.
What should I bring?
Bring comfortable shoes and a camera, and wear weather-appropriate clothing.
Is there any weight limit?
Yes. It is not suitable for people over 275 lbs (125 kg).